How to build the macOS dock (part 1)
I’ve been thinking about this idea for about a year: building a macOS app that replicates the Dock on external displays. Whenever I connect my MacBook to an external monitor, the Dock remains on the main display, which forces me to shift focus every time I need it. This frustration sparked my desire to create an app that brings the Dock to any connected display—allowing me to see and use the Dock wherever I’m working.
In this post, I’ll walk you through the proof-of-concept phase of this project. By the end, we’ll have a basic version of our own Dock-like interface, pinned to the bottom of the screen. Here’s what we’ll cover:
- Retrieve running applications
- Present the applications in a horizontal container
- Apply a Dock-like appearance
- Pin the container to the bottom of the display
Let’s get started!
# Retrieve running applications
macOS lets us retrieve running applications via the runningApplications property of NSWorkspace. This property returns an array of NSRunningApplication instances.
Each NSRunningApplication instance provides key information such as localizedName: String?, icon: NSImage?, and bundleURL: URL?, which is everything we need to display and interact with each app.
Here’s a simple snippet showing how to fetch the list of running applications:
struct RunningApp: Identifiable, Equatable {
  let id: Int
  let name: String
  let icon: NSImage
  let nsRunningApplication: NSRunningApplication
}

func getRunningApps() -> [RunningApp] {
  let apps = NSWorkspace.shared.runningApplications
    .filter { $0.activationPolicy == .regular }
    .map { app in
      RunningApp(
        id: Int(app.processIdentifier),
        name: app.localizedName ?? "",
        icon: app.icon ?? NSImage(),
        nsRunningApplication: app
      )
    }
  return apps
}
# Present the applications in a horizontal container
With our list of running apps in hand, we can move on to displaying them in a horizontal container. SwiftUI makes this simple: just create an HStack and place the app icons inside it.
Below is a minimal SwiftUI example:
struct DockIcon: View {
  let application: RunningApp

  var body: some View {
    Image(nsImage: application.icon)
      .resizable()
      .aspectRatio(contentMode: .fit)
      .frame(width: 48, height: 48)
  }
}

struct ContentView: View {

  @State var runningApps: [RunningApp] = []

  var body: some View {
    HStack {
      ForEach(runningApps) { app in
        DockIcon(application: app)
      }
    }
    .padding()
    .task {
      runningApps = getRunningApps()
    }
  }

}
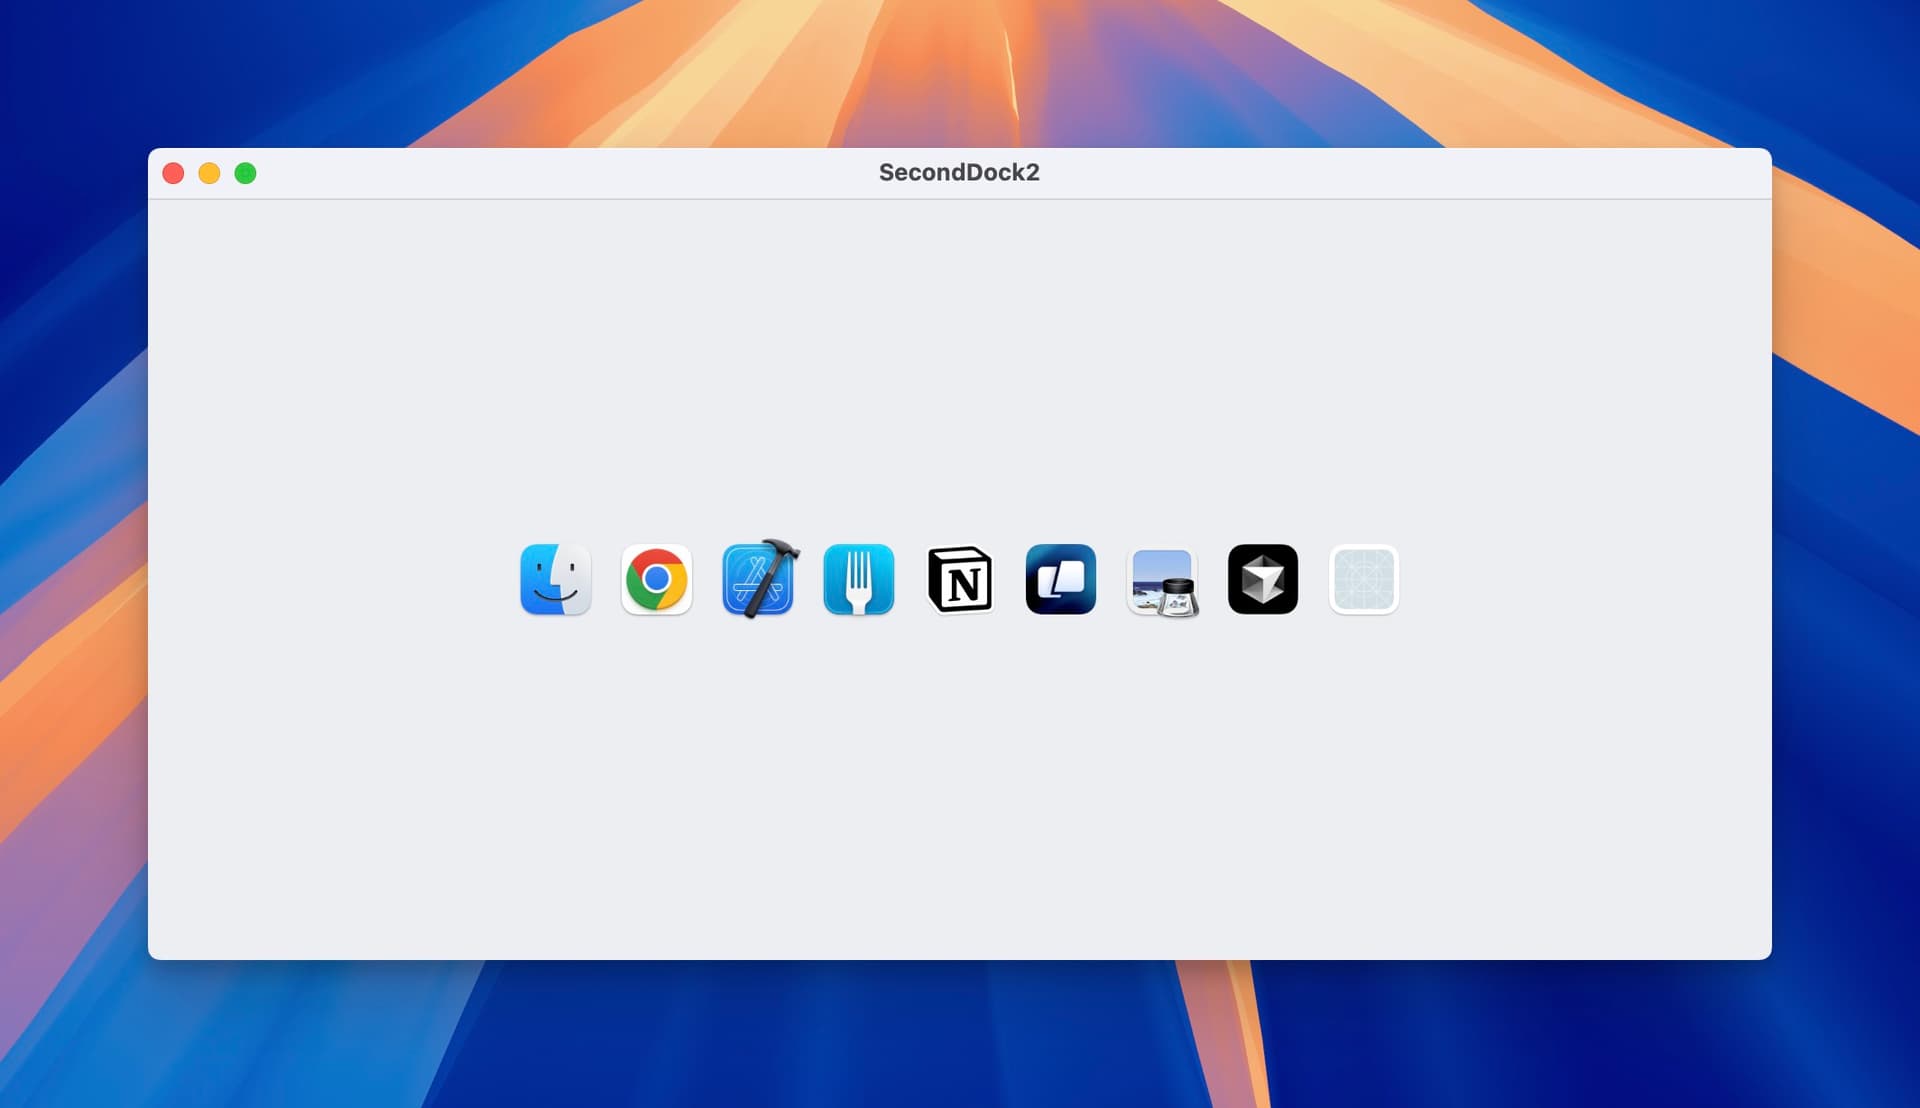
Here’s the result:
# Apply a Dock-like appearance
Next, let’s make our container closely resemble the real Dock. We want a translucent background, rounded corners, and no visible title bar or window buttons.
SwiftUI provides containerBackground for creating a material-like background, and toolbarBackgroundVisibility to toggle the title bar’s visibility. However, there’s no native SwiftUI way to hide the close, minimize, and maximize buttons. On top of that, these APIs require macOS 15 or later, so you’ll need to set that as your minimum deployment target.
Because of these limitations, we’ll lean on some AppKit APIs to fine-tune the window’s appearance.
Remove the title bar and window buttons:
struct WindowBackground: NSViewRepresentable {
  func makeNSView(context: Context) -> NSView {
    let view = NSView()

    DispatchQueue.main.async {
      if let window = view.window {
        configureWindow(window, context: context)
      }
    }

    return view
  }

  func updateNSView(_ nsView: NSView, context: Context) {
  }

  private func configureWindow(_ window: NSWindow, context: Context) {
    window.titleVisibility = .hidden
    window.titlebarAppearsTransparent = true
    window.styleMask.remove(.titled)
    window.backgroundColor = .clear
    window.level = .screenSaver
    window.collectionBehavior = [.canJoinAllSpaces, .stationary]
  }
}

struct SecondDock2App: App {
  var body: some Scene {
    WindowGroup {
      ContentView()
        .background(WindowBackground())
    }
    .windowResizability(.contentSize)
  }
}
Add a translucent material background with rounded corners and a border:
HStack {
  ForEach(runningApps) { app in
    DockIcon(application: app)
  }
}
.padding(8)
.background {
  RoundedRectangle(cornerRadius: 16, style: .continuous)
    .fill(.ultraThinMaterial)
}
.overlay {
  RoundedRectangle(cornerRadius: 16, style: .continuous)
    .strokeBorder(.white.opacity(0.2), lineWidth: 0.5)
}
It should now look something like this:
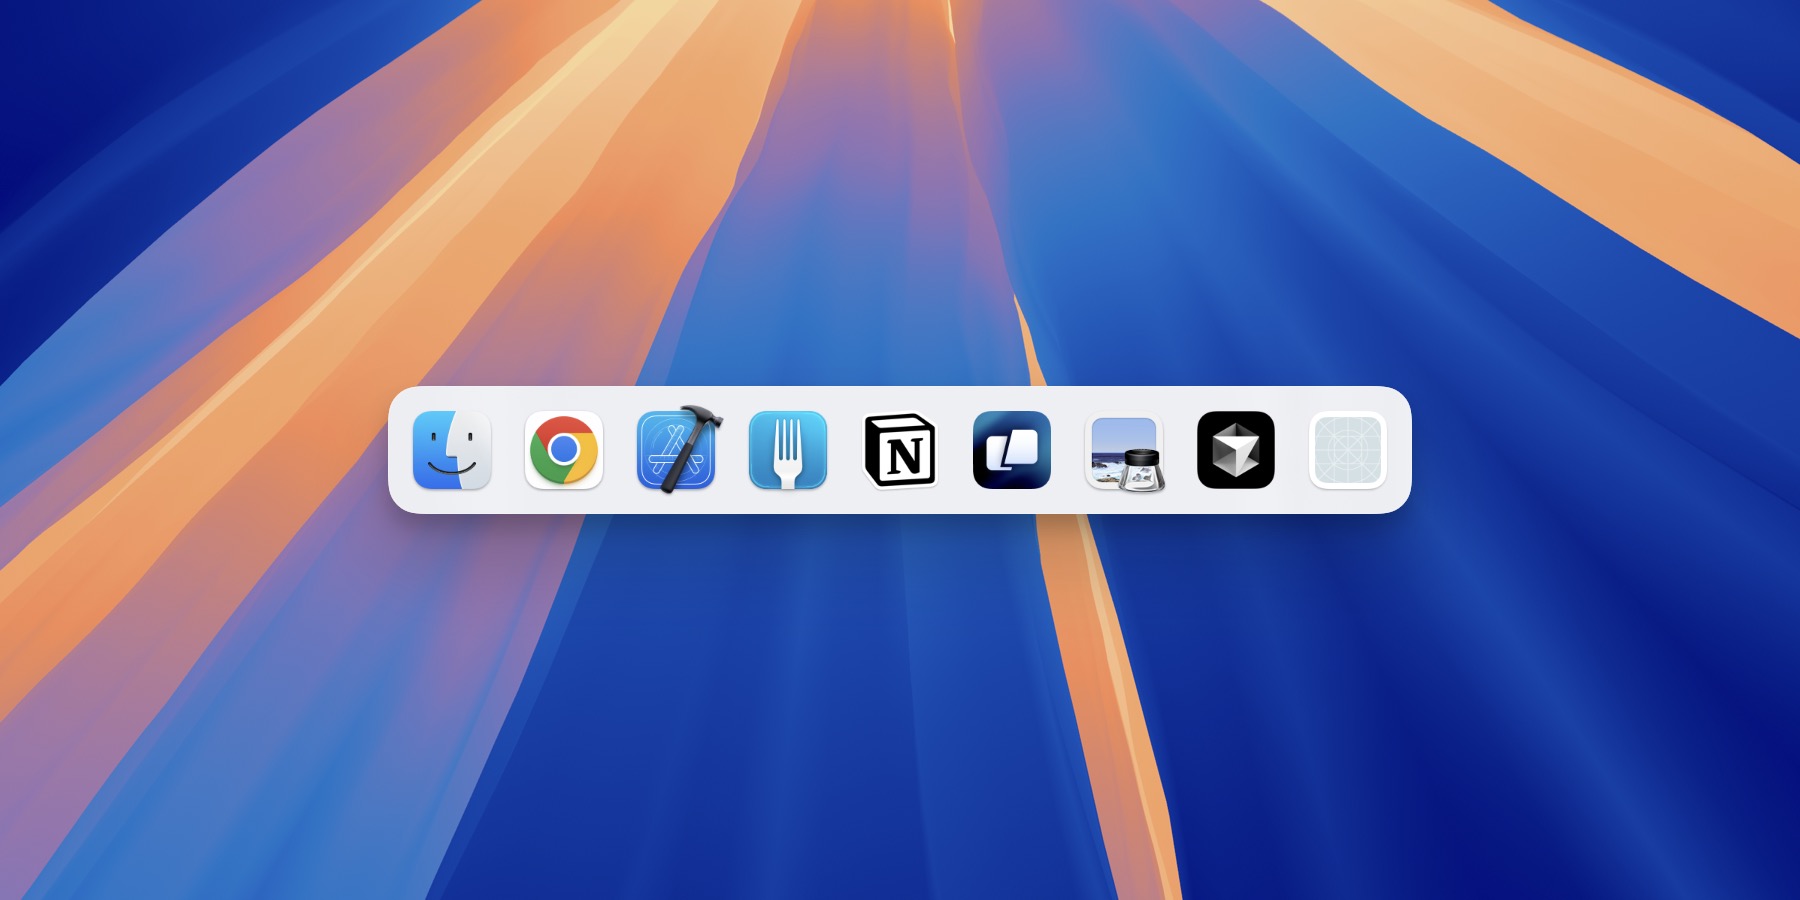 (The translucent effect was not fully visible in the screenshot)
# Pin the container to the bottom of the display
Finally, let’s pin our container to the bottom of the display—right where the Dock traditionally lives. We’ll use a WindowBackground view as the delegation of NSWindowDelegate to calculate and update our window’s frame position.
Since we want the container at the bottom, we can compute its origin by setting:
x = screenFrame.midX - (windowFrame.width / 2)y = screenFrame.minY + padding
Here’s the complete code:
struct WindowBackground: NSViewRepresentable {

  class Coordinator: NSObject, NSWindowDelegate {
    var parent: WindowBackground

    init(_ parent: WindowBackground) {
      self.parent = parent
    }

    func windowDidResize(_ notification: Notification) {
      guard let window = notification.object as? NSWindow else { return }
      recenterWindow(window)
    }

    func recenterWindow(_ window: NSWindow) {
      guard let screen = window.screen else { return }
      let screenFrame = screen.frame
      let windowFrame = window.frame
      let padding = 4.0

      let newOrigin = NSPoint(
        x: screenFrame.midX - windowFrame.width / 2,
        y: screenFrame.minY + padding
      )

      window.setFrameOrigin(newOrigin)
    }
  }

  func makeCoordinator() -> Coordinator {
    Coordinator(self)
  }

  func makeNSView(context: Context) -> NSView {
    let view = NSView()

    DispatchQueue.main.async {
      if let window = view.window {
        configureWindow(window, context: context)
        window.delegate = context.coordinator
      }
    }

    return view
  }

  func updateNSView(_ nsView: NSView, context: Context) {
    if let window = nsView.window {
      context.coordinator.recenterWindow(window)
    }
  }

  private func configureWindow(_ window: NSWindow, context: Context) {
    window.titleVisibility = .hidden
    window.titlebarAppearsTransparent = true
    window.styleMask.remove(.titled)
    window.backgroundColor = .clear
    window.level = .screenSaver
    window.collectionBehavior = [.canJoinAllSpaces, .stationary]
    context.coordinator.recenterWindow(window)
  }
}
And here’s how it looks:
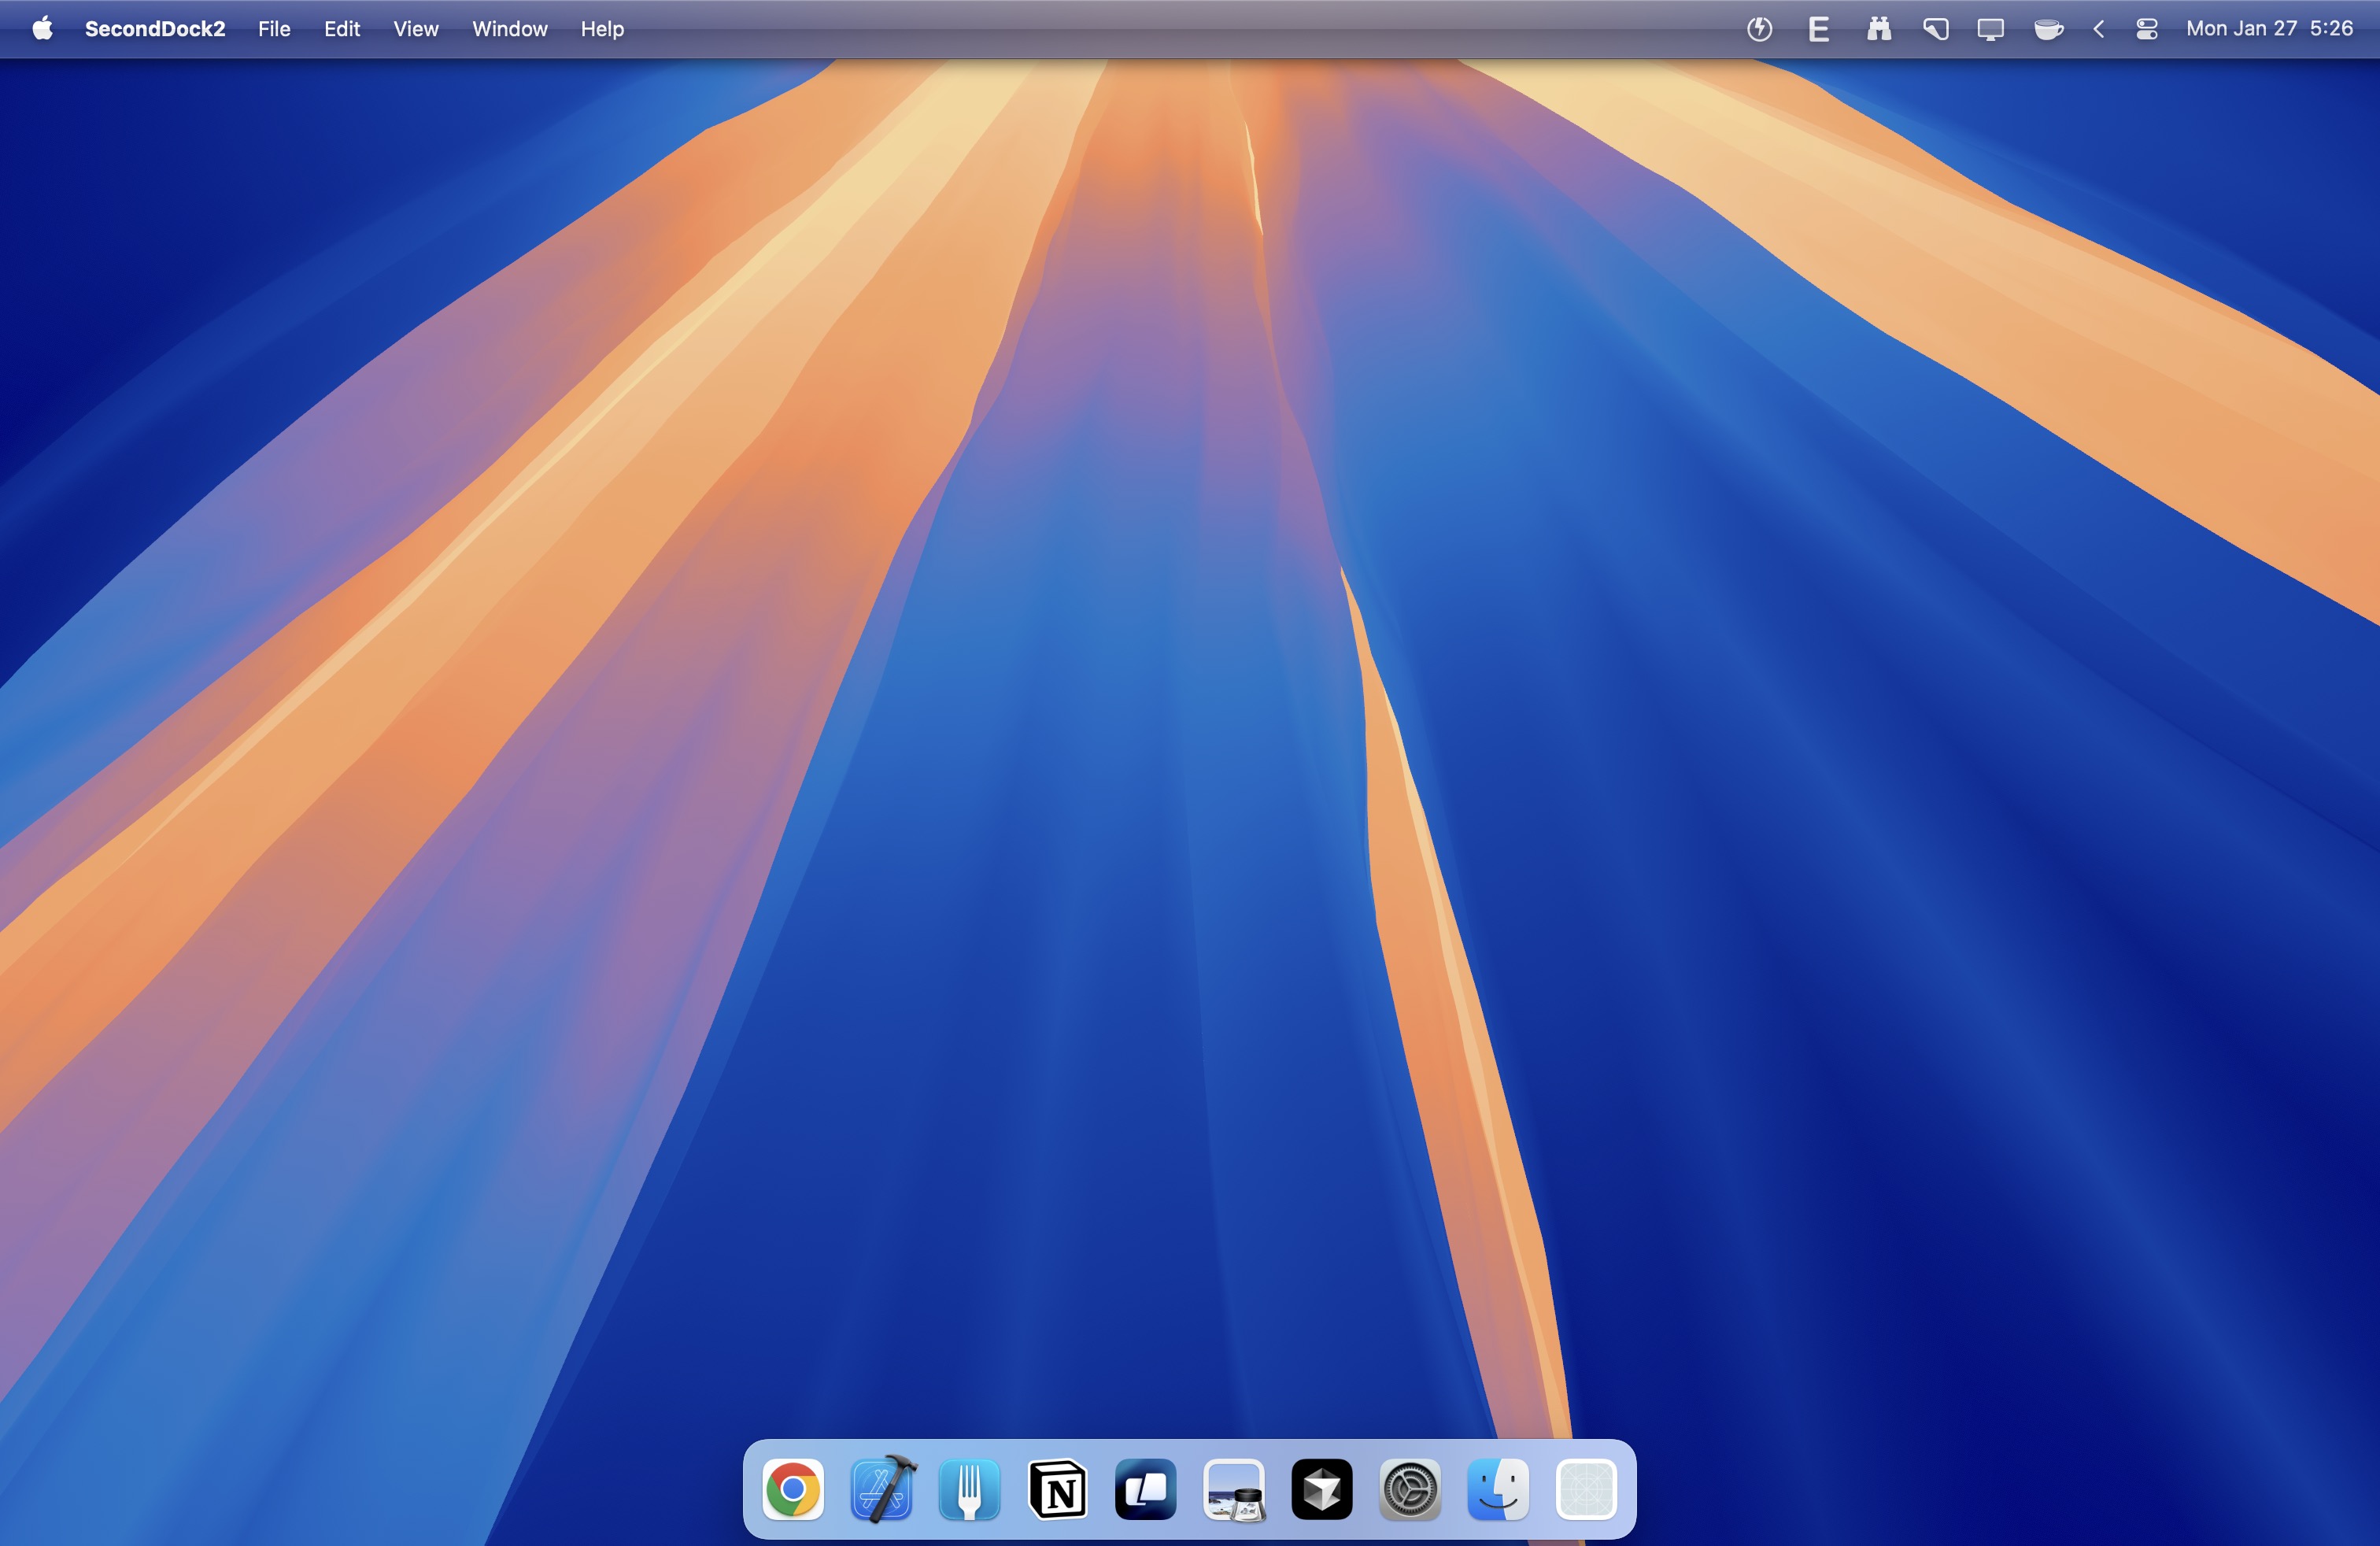
What a beautiful dock! Can you spot the differences from the real thing?
That’s all for now. We will dive deeper and explore additional features in the next post. Stay tuned!